7-STEP INSTALLATION
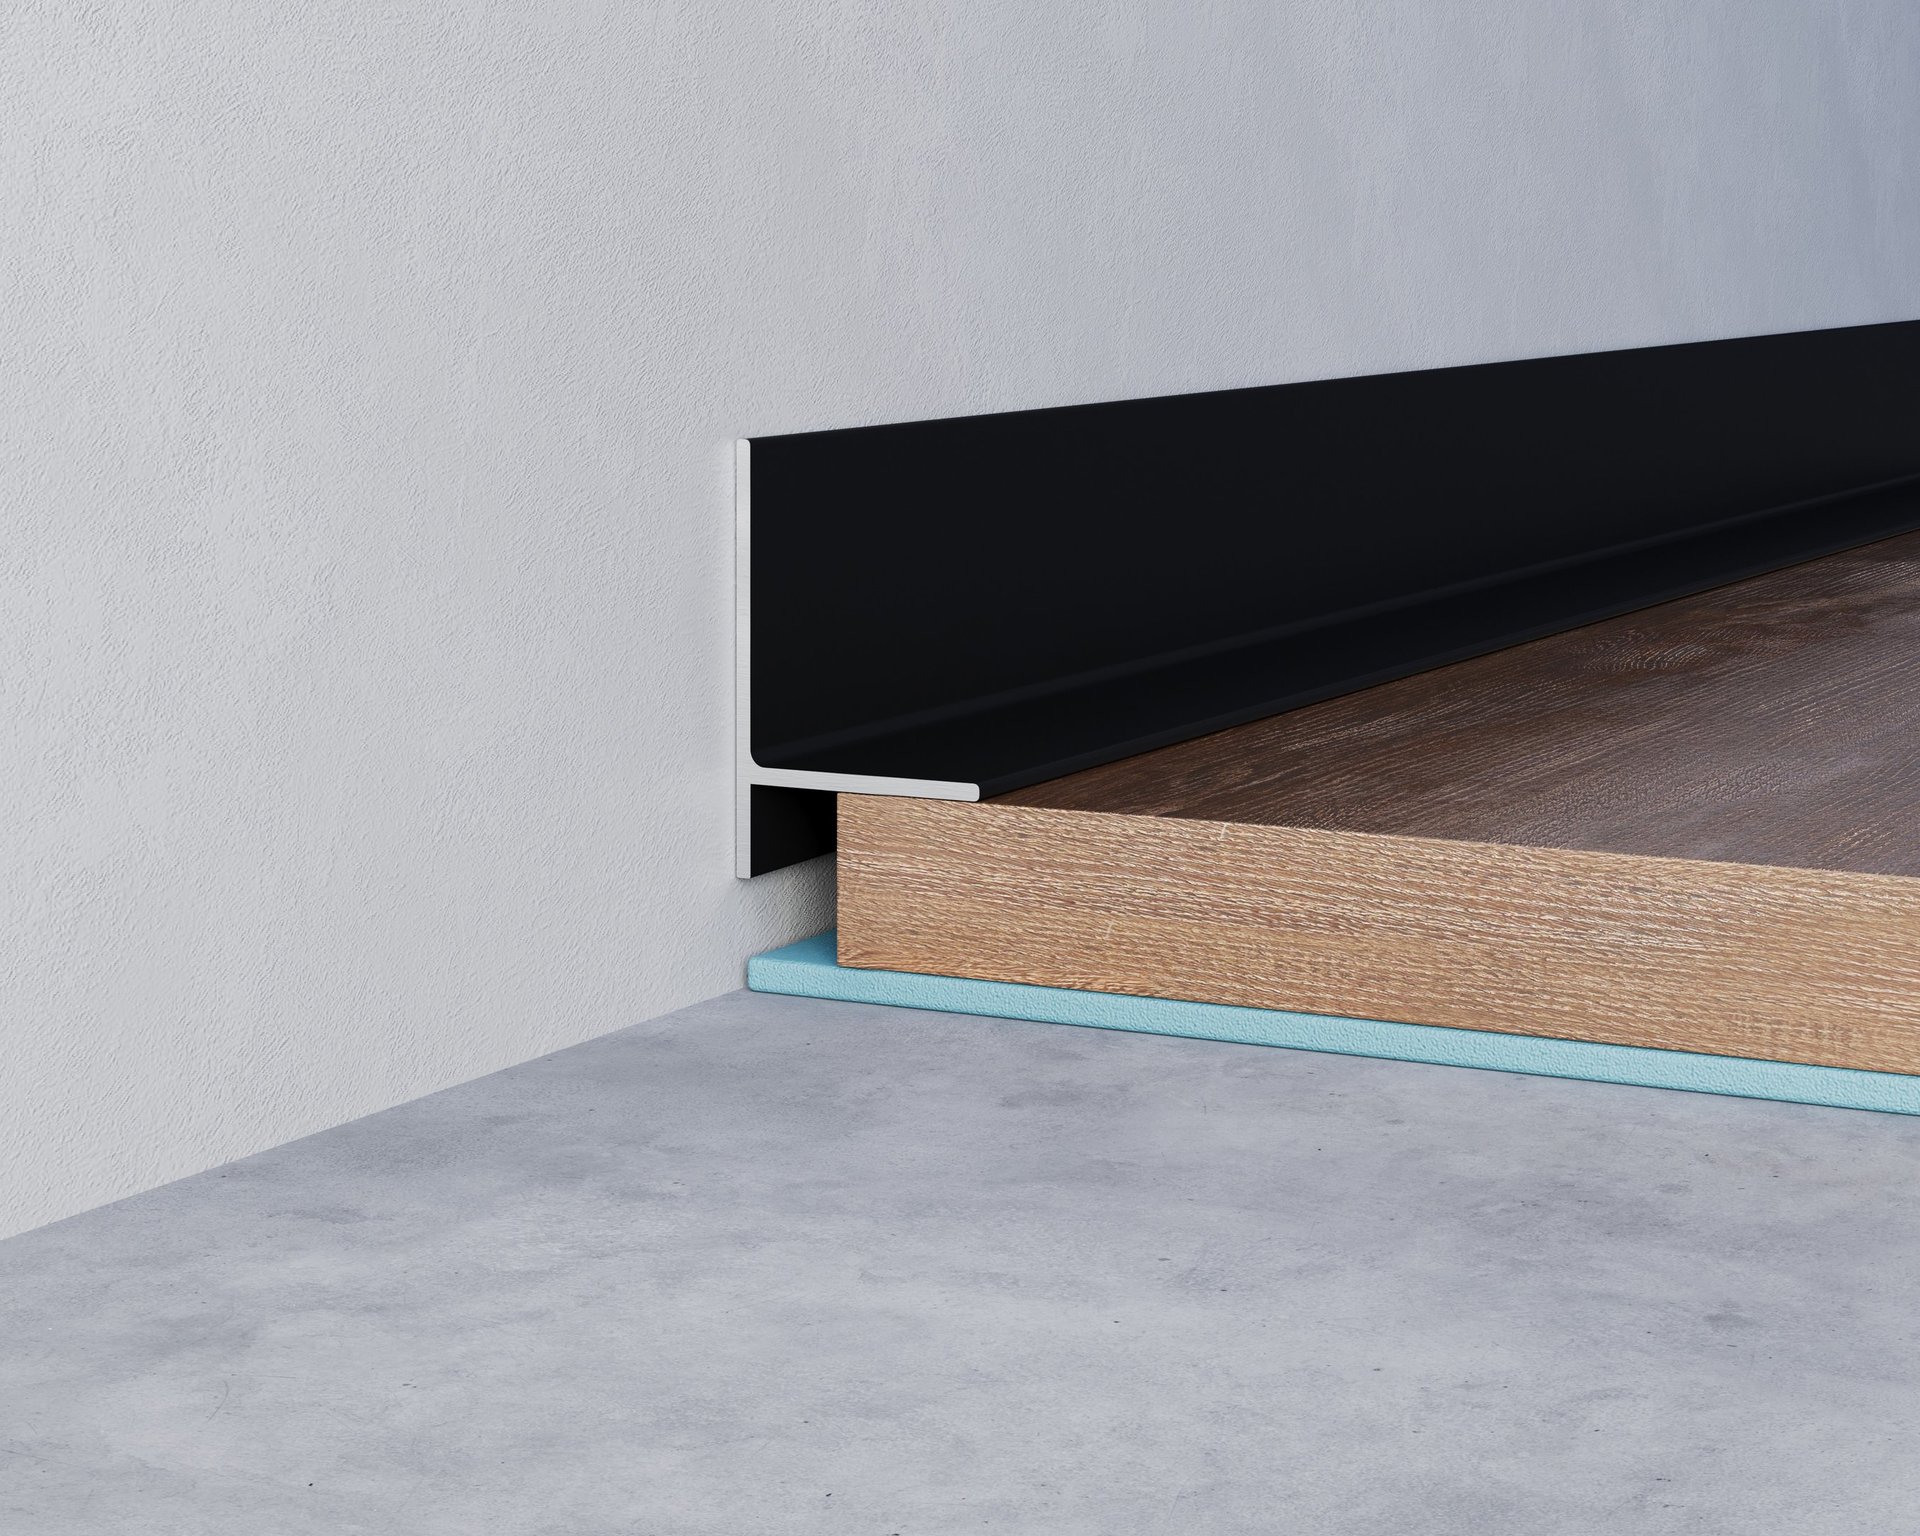
The gap between the floor and the wall should be between 4 and 12 mm, depending on the type of skirting board you choose.
The dimensions for cutting the profile are taken from the wall. When making joints, additional millimeters should be taken into account, depending on the width of the skirting board.
Once the required dimensions are obtained, the profile is attached to a wooden support on the side where the saw blade is cutting. In this way, the skirting boards are prepared for installation.
Depending on the model you choose, you will see an integrated mounting strip on the other side of the skirting board (in models that cover not only the floor but also the wall, you will find two integrated strips).
Unfold the strip (or both strips) by no more than 5 cm and place the skirting board where you plan to attach it.
Then start pulling the bottom strip protector until it is completely removed from the skirting board. Repeat the same with the top strip (if you chose a model that covers the wall).
That's it, without any additional fixing work, the skirting boards will be attached to your home.
STEP - 1
STEP - 2
STEP - 3
STEP - 4
STEP - 5
STEP - 6
STEP - 7
WITH CODE "VISADA" 10% DISCOUNT FOR ENTIRE ORDER BUYING OVER €100 !!!